How to Edge a Flower Bed

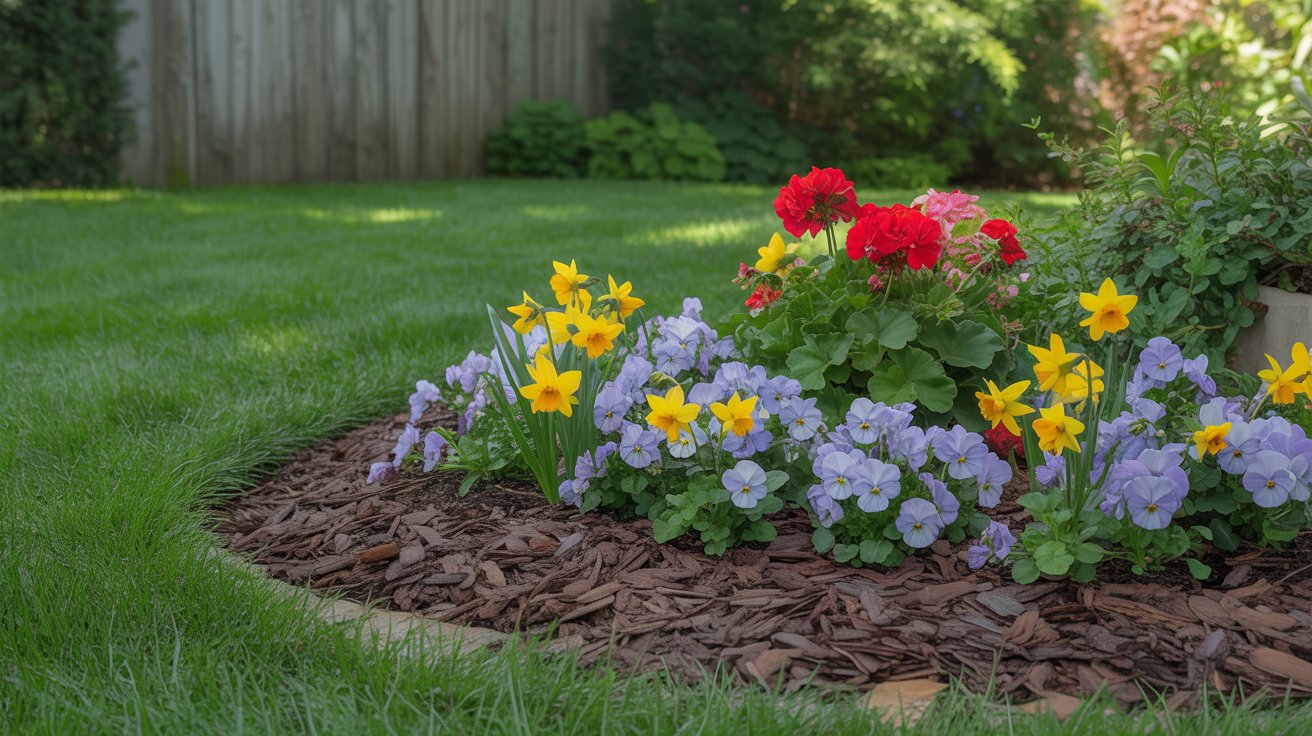
A well-maintained garden instantly boosts the beauty of any outdoor space, and one of the easiest ways to achieve that polished look is by learning how to edge a flower bed. Proper edging creates a clear separation between lawn and garden, keeping grass from invading planting areas while giving your landscape a clean, professional appearance.
Whether you’re a beginner or an experienced gardener, edging can be a simple weekend project that dramatically transforms your yard. In this guide, we’ll walk you through the best techniques, materials, and tips to edge your flower beds effectively.

Why Edging Matters
Before diving into the “how,” it’s important to understand the benefits of edging:
- Aesthetic Appeal: Crisp edges make your flower beds stand out.
- Weed and Grass Control: Prevents grass and weeds from creeping into your flowers.
- Defined Boundaries: Creates clear divisions between lawn, paths, and planting areas.
- Easier Maintenance: Simplifies mowing and trimming around flower beds.
Tools and Materials You’ll Need
To edge a flower bed, you’ll need the right tools. Here are the basics:
- Edging shovel or spade
- Half-moon edger (for manual work)
- String or garden hose (to outline curves)
- Garden gloves
- Mulch, stones, or edging material (optional)
- Wheelbarrow and rake
Step-by-Step Guide on How to Edge a Flower Bed
1. Plan Your Edging Line
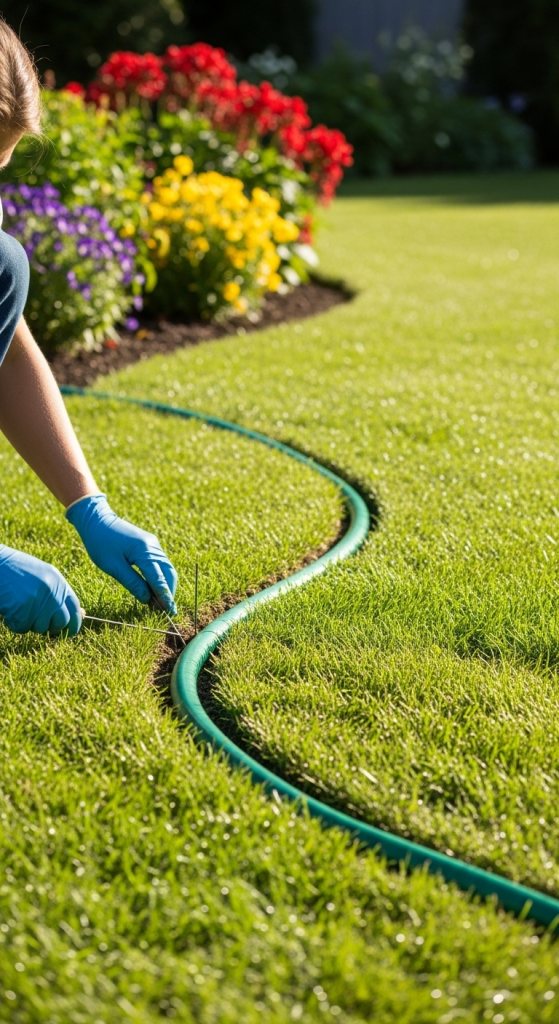
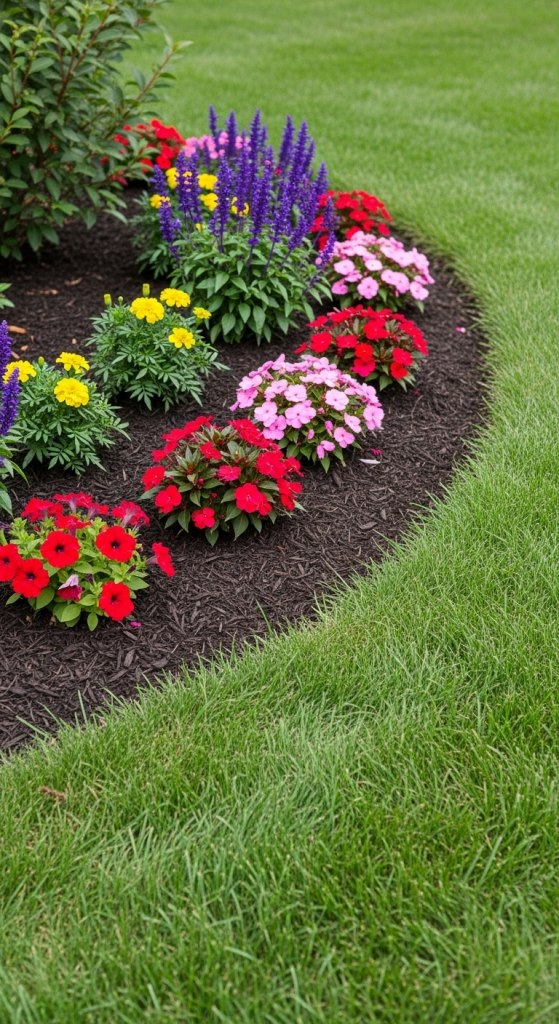
Start by deciding on the shape of your flower bed. Straight lines work well for formal gardens, while curved edges create a softer, more natural look. Use a string line or garden hose to mark the outline.
2. Cut the Edge
Using an edging shovel or half-moon edger, cut into the soil along your outline. Aim for a depth of about 4–6 inches, depending on how strong you want the edge to be. Push the tool straight down for a crisp edge.

3. Remove the Sod
Remove the grass or sod along the cut edge. This creates a clean trench that separates the flower bed from the lawn. If the soil is compacted, loosen it with a spade.

4. Shape the Edge
Slope the soil inside the flower bed slightly downward. This not only improves the look but also helps mulch and soil stay in place.
5. Install Edging Material (Optional)
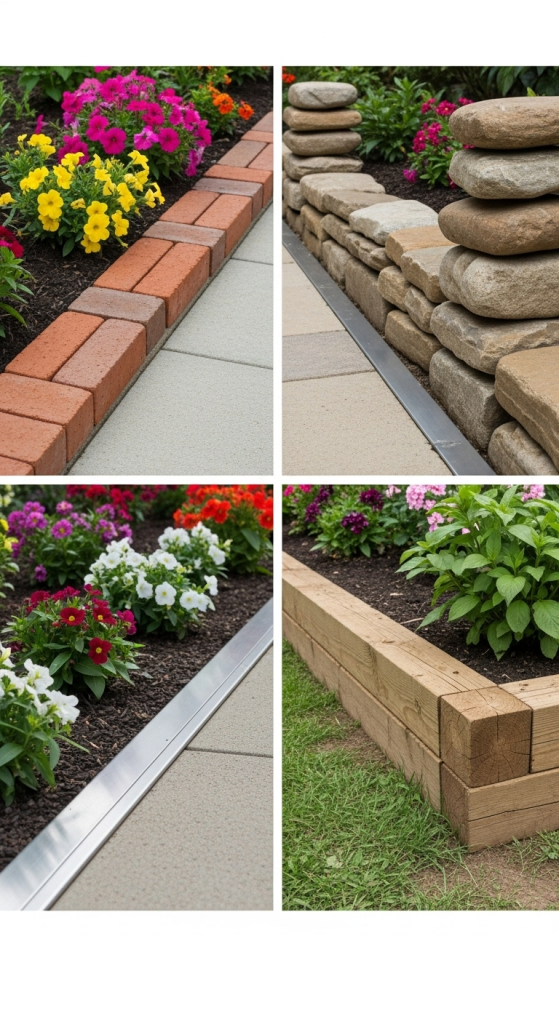
For a longer-lasting edge, consider installing edging materials such as:
- Brick or Stone: Durable and classic.
- Metal or Plastic Edging: Sleek, modern, and effective at holding lines.
- Wood or Timber: Rustic and natural, though less durable.
6. Add Mulch or Gravel
To finish, spread mulch, bark, or gravel inside the bed to suppress weeds and give a tidy appearance. Make sure the mulch doesn’t spill over the edge.

Popular Edging Materials
- Natural Edges: Just cut into the soil, simple, budget-friendly, and elegant.
- Brick or Paver Edges: Offer structure and durability.
- Stone Edging: Provides a rustic, natural vibe.
- Metal or Plastic Strips: Easy to install and maintain.
- Wooden Edging: Blends well with cottage or farmhouse gardens.
Tips for Professional-Looking Edges
- Keep edges consistent in depth and width.
- Re-edge your flower beds at least once a season to maintain sharp lines.
- Use mulch to highlight the edge and reduce weeds.
- Combine edging with garden lighting for added curb appeal.
Common Mistakes to Avoid
- Cutting edges too shallow, which causes grass to creep back in.
- Using mismatched edging materials that clash with the garden style.
- Neglecting seasonal maintenance.
- Allowing mulch or soil to spill over, hiding the crisp line
Conclusion
Learning how to edge a flower bed is a simple yet powerful way to improve your garden’s appearance and functionality. With just a few tools and a little effort, you can create neat, defined lines that keep your landscape looking professional. Whether you choose natural edging or decorative materials, the results will transform your outdoor space into a more polished and inviting garden.